#2: Creating Christmas In Your Home
- vanessawolverton
- Dec 6, 2019
- 3 min read
If you are on Instagram or Pinterest during the last quarter of the year, you inevitably are seeing a thousand (maybe more) beautiful Christmas trees in people's homes. The dilemma begins; do you create a perfectly styled, matching tree? or do you go with lots of color + homemade, family ornaments that hold sentimental value?

Because Thanksgiving was later this year, I had our tree up before, and we added paper notes to it with things we were thankful for. It's an idea I got from my neighbor/friend and I love that it allows you to enjoy your tree just a little longer than normal! And also, to be intentional the month of November with writing out all of the things we are thankful for. A lot of our friends and neighbor kids wrote notes and it was really special to see what everyone wrote.

I've done different looks with our tree every year since we've been married. Some years I've done a styled, matching tree where all of the decor on it coordinates in color. I love how formal and elegant trees look this way.
Some years I've done a "Family" tree with all of our homemade, special ornaments we gather throughout the year, and save over the years. This look always makes me so happy and thankful to look at all of our special, meaningful ornaments at the end of each year. Some new and some really old. I've even done two trees, one of each, so everyone enjoys what they want.
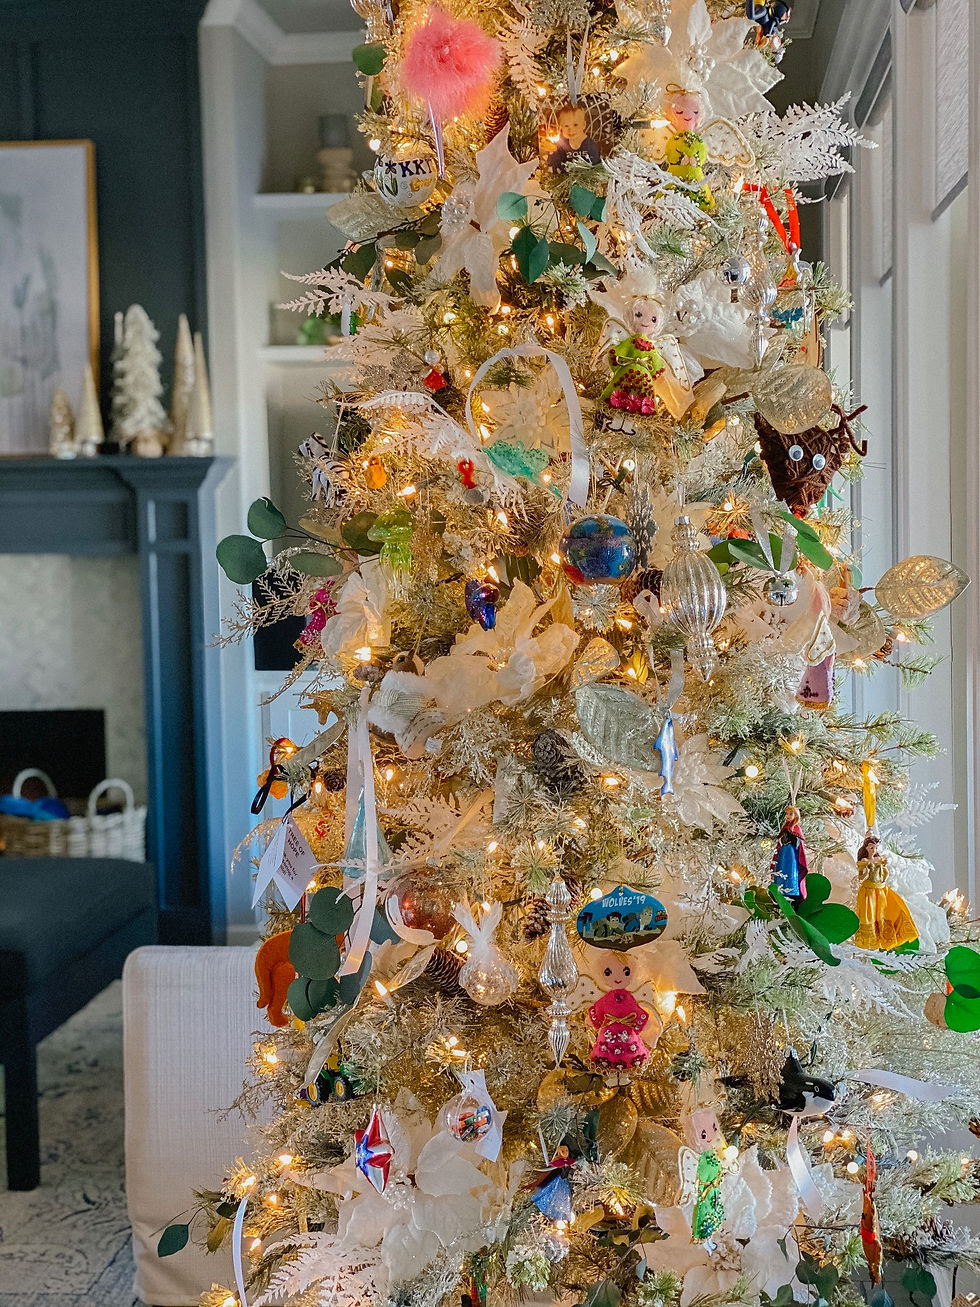
This year, I decided to just do one tree, and combine it with a really solid base of "styled" decor that all matches and coordinates, PLUS our family ornaments. I originally planned to do a smaller Family tree in the playroom for the kids and all of their decor, but once we started pulling it out of the attic and I saw how much they loved looking through all of the ornaments, I knew I wanted it to be our main tree in the living room that we could all enjoy together.

The tree we have is 7.5' tall, and is a slim profile. This has always fit really well in all of the areas of this home and our last home that we used it. It also fills in quickly, which makes it easy to decorate.

This year, I (nervously) used spray flocking on all of the branches, so it has more of a soft green look to it. It is a bit messier with some dusting coming off here and there, but overall I LOVE how it looks so much more now!
In the years I have only done family ornaments on it, I've not been fully happy with how it looked. It always felt like something was missing or lacking. This year, I decided to give it a really good base of styled decor; ornaments, flowers, stems/picks, and leaves, and then add the last "layer" of our family ornaments.
I use these white velvet poinsettia flower picks from hobby lobby (about 30-40 of them). I also placed probably 20-30 mercury glass ornaments all over (they look a lot like these below)


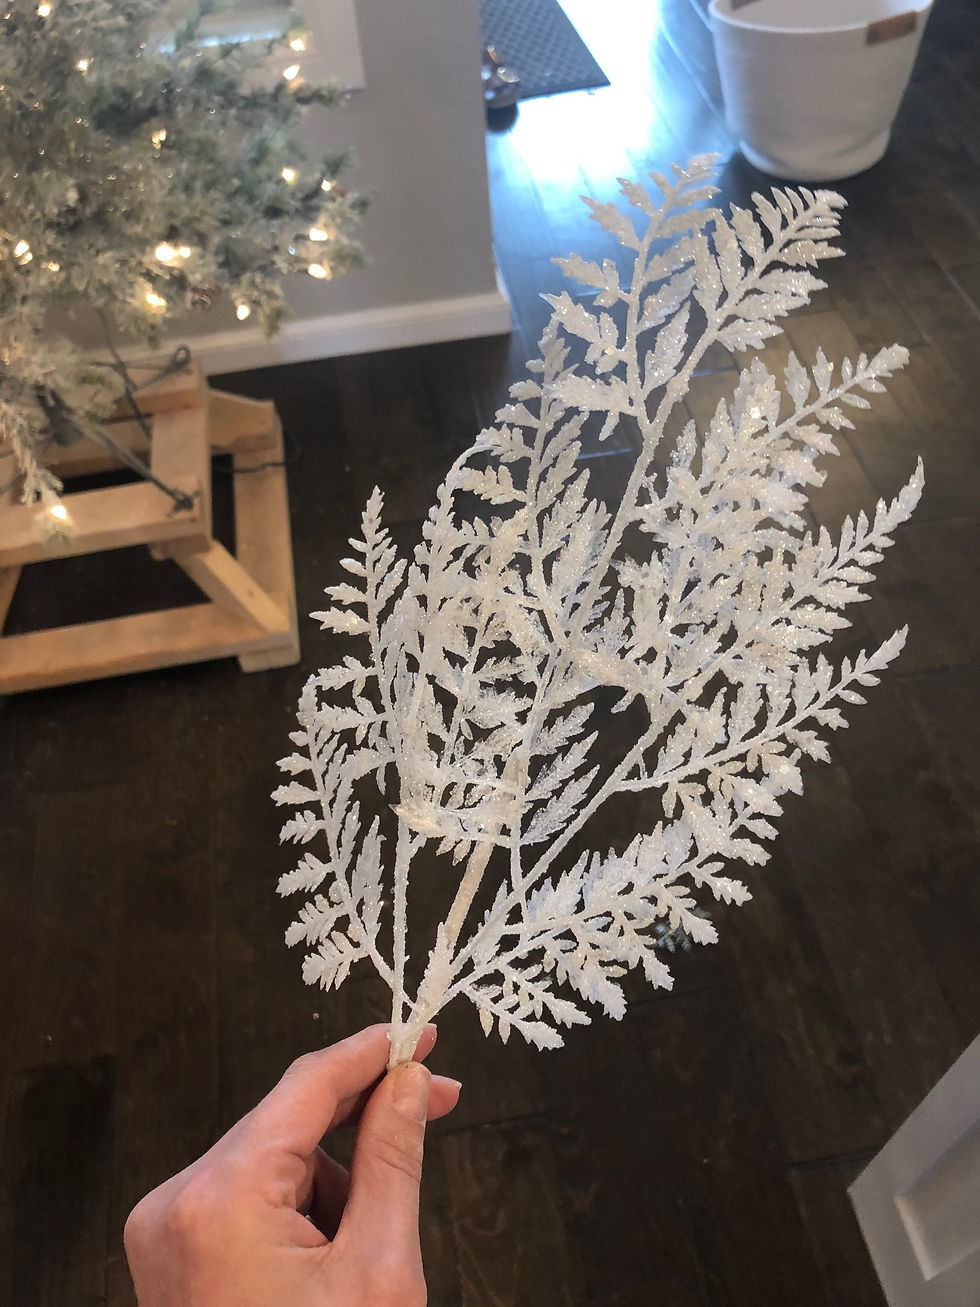
I added two types of branches; white sparkly leaves and gold sparkly evergreen style picks, as well as some large, gold leaves. I used these in all of the really bare or open spots near the inner base. This helped it immediately feel more full to start with.


Finally, I wanted it to have something less christmas-ey, so I added in branches of deep blue eucalyptus leaves, sticking out evenly all over. I think the combination of different materials, shapes, and sizes, gives the whole tree dimension and interest.

Once the tree was really full of all of the matching + styled decor, it could have been finished just like it was. Elizabeth and I added the last "layer" of our family ornaments one evening.

Seeing her and Luke light up looking at all of our special ornaments was just the best. They both stop at it multiple times a day and just take it all in.
I think because the tree had a really good styled base of decorations, the family ornaments and all of the colors feel more pulled together and polished than it has in years past.


How do you do your tree? Do you prefer the styled look? or full of family memories?


Comments